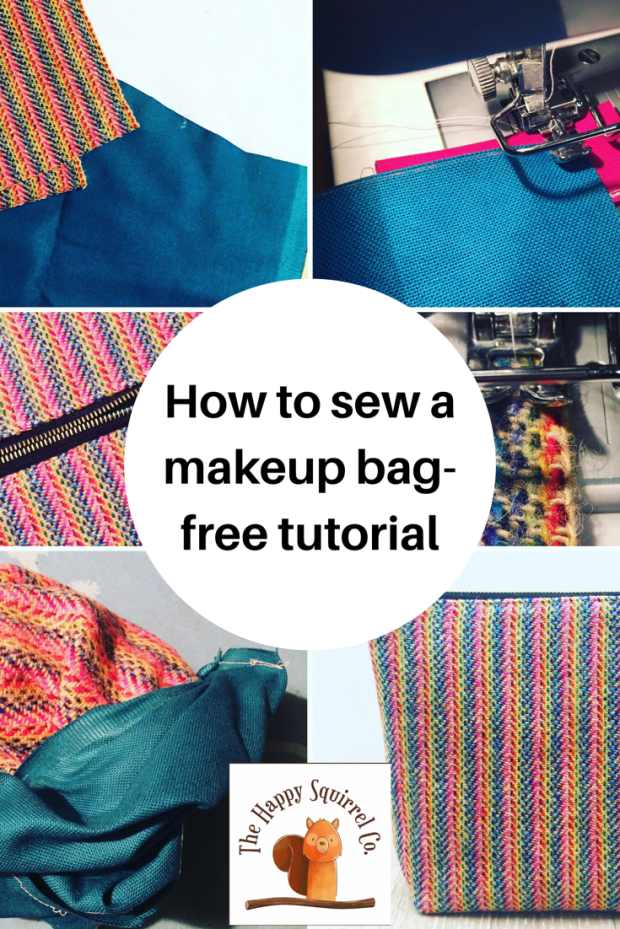
I love making these bags, they come together quickly and the zip ends make them look so professional, you can also make them with just a few fat quarters.
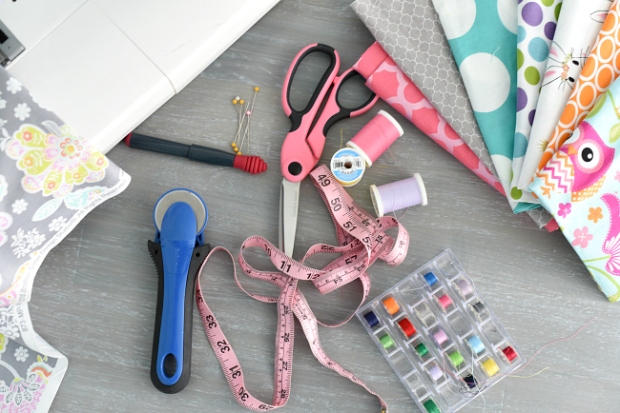
What you will need:
I make most of them with an 8 inch metal zipper, that’s just personal preference, with simple maths you can make them any size you like. I’ll explain fully at the end.
Use whatever outer fabric you like, (for this one I use tweed but any cotton or canvas will work, don’t use any fabric that is very light or that has any stretch)
Outer fabric cut two squares both 10 inches by 10 inches
Lining fabric cut two 10 inches by 10 inches
Two zip ends 2 inches by 4 inches
Two squares of fusible fleece interfacing (I use Pellon 987F) 9.5 inches by 9.5 inches.
Iron & ironing board
Sewing machine, zipper foot & regular foot

Get the ironing board out! Fuse the fleece to the outer fabric, if you have a steam iron, put it to medium heat and high steam and take your time to fuse it in the middle, leaving half an inch on each side. If you don’t have a steam iron you can use a damp cloth.
Iron all the other fabric pieces too.
Fold the zipper ends, fold about an inch in on each side and then in half, see picture below.


To the sewing machine!
Put the zip in between the zipper ends.
Sew the zipper ends onto the zipper using a straight stitch
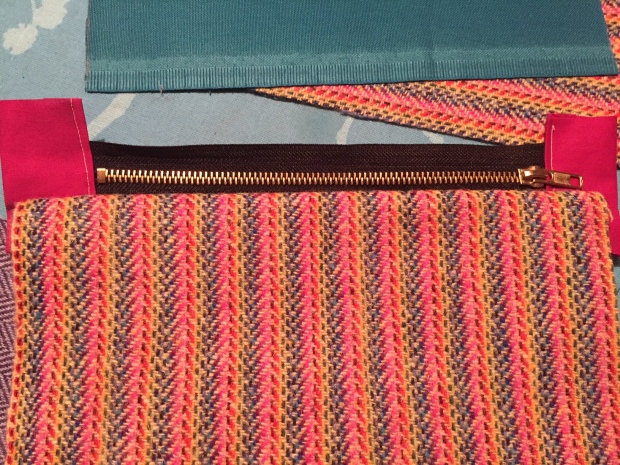
It should look like this:

Now you are going to attached the zip to the fabric.
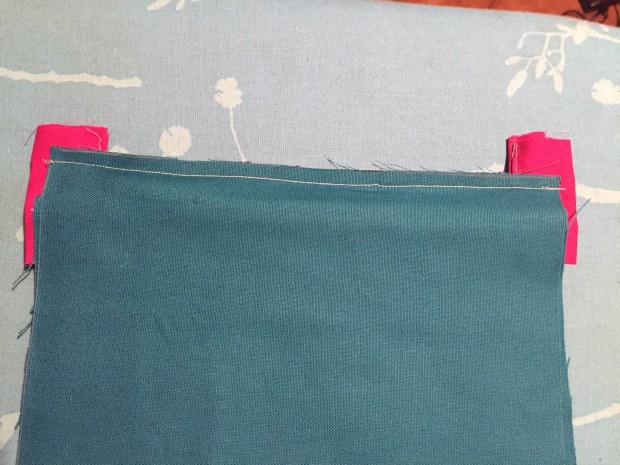
Taking your outer fabric lay it on a flat surface right side up, place the zipper on top opening side down, then place your lining fabric on top. I’m using plain fabric here so it doesn’t have a right or wrong side but if you are using patterned lining fabric you would put this right side down. The below picture may make it clearer.

Don’t worry if the zip ends are a bit long and stick out, you can trim them after sewing if you like, pin the zip and head to the sewing machine.
With your zipper foot on sew slowly along the top line of the zip, when you get near the zipper pull leave your needle in the fabric, lift the foot, unpin and open the zip, then continue to sew along the line. Below is what it should look like, take your time with this part, zippers can be tricky.
the inside
This is what is should look like from the outside
Do the exact same on the other side, but you will now need to open you zipper, so outer fabric right side up, open zipper with pull facing down and your lining fabric on top.
Again slowly sew along the outer part of the zip, stopping when you get near the zip pull, this time you will unpin and close the zipper.
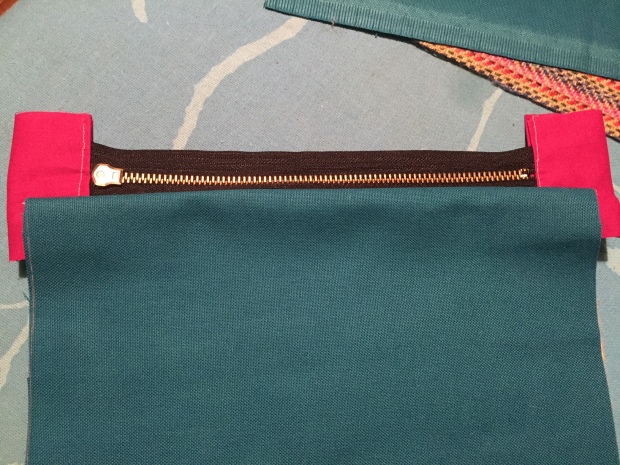
Yay, you’ve now sewn the zipper in!
It should look something like this when you open it out.

Top stitch the bag:
Top Stitching has two benefits, it makes the bag look more professionally finished and it stops the lining fabric coming up and getting stuck in the zipper.
Iron your bag flat as the picture is above so outer fabric on top of lining fabric and zipper in the middle, give the lining fabric a gentle pull away from the zipper, it needs to be as flat as possible, pin the layers at the bottom and zig zag stitch along the sides of the zipper with your regular sewing foot, stitch as close to the top of the fabric as you can.


It’s hard to see on the outer fabric in the picture above because of the colour of the tweed but you can see it on the lining.
Sewing the bag together:
OPEN YOUR ZIPPPER! this is so important and if forgotten will lead to some serious swearing at the end!
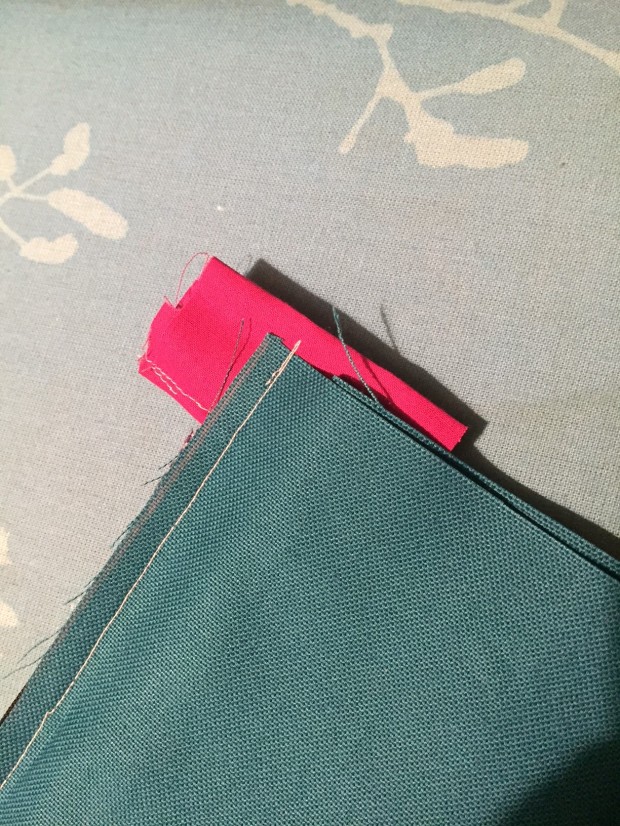
Lay your fabric on a flat surface, with the zipper open, line your outside fabric up right sides together on line you lining up right sides together, it should look like this:

Your zip ends should be pushed down into the lining side 
Starting at the lining side start about 3 inches from one side, sew all around the bag with about a half inch seam allowance, sew through the zip ends as the picture shows above, leaving a gap for turning at the bottom of the lining about 3-4 inches wide.
Corners:
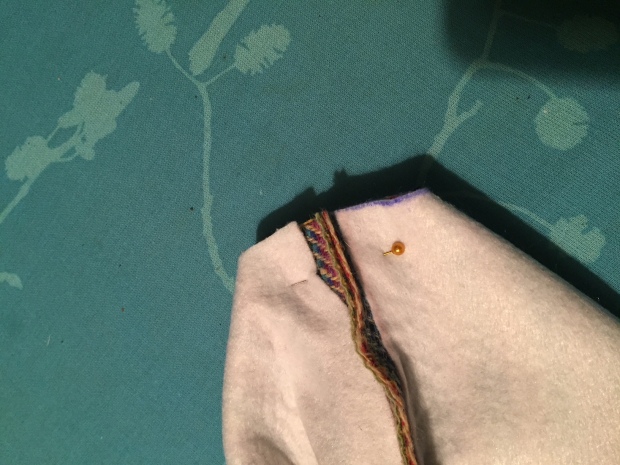
Next step is to add the corners to the bag. Unpin the bag and bring it to a flat surface, with a ruler make 1.5 inch squares in the bottom of each corner, cut out each square. It should look like this:


Now pull the corners together so they look like this:
Pin and sew along the line, use your back stitch function here and sew over your stitches a few times, I usually do it three times, the last thing you want is your corners to go, again about a half inch seam allowance.

Once you have this done on all four corners you are ready to turn your bag right way out.
Through the gap that you left at the bottom, reach in and pull the bag through, this is why the zipper has to be left open if you left it closed you won’t be able to reach through.


Use your hands to push the corners out fully and pull the zip up, push the zip ends upwards and then pull out the lining flat.

Sew the gap closed:
I usually just zig zag along the gap but you can hand stitch this so that it’s not as visible

Push the lining down into the bag and make sure it is completely turned out and pulled up.
Ta-dah! You’ve made a bag, it should look something like this:


Now the maths I promised! The only rule with this bags is to cut your outer and lining fabric 2 inches wider than your zip, so for an 8 inch zip cut the fabric 10 inches, for a 6 inch zip cut the fabric 8 inches and so on. I have used a square but its the same principle to make it a rectangle.
The size of the squares that you cut for the corners will determine the base width of your bag, the one I have made with 1.5 inch square corners will end up with the bag having a just over 2 inch base (you loose a bit to the seam allowance on the corners) If you want a wider base you would cut bigger squares so for a just over 4 inch base you would cut 2.5 inch squares. The only thing is they must be equal squares.
I really hope the above tutorial is clear, any questions? Just shout!